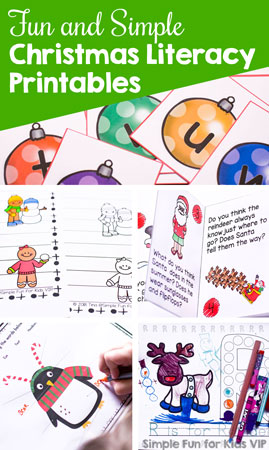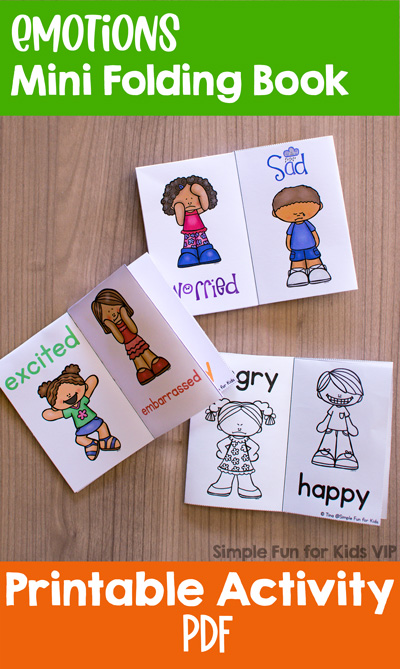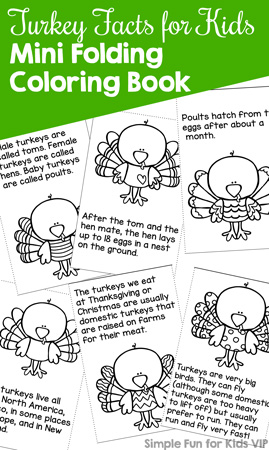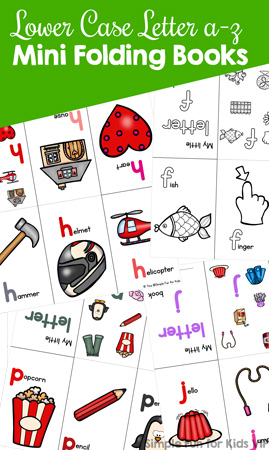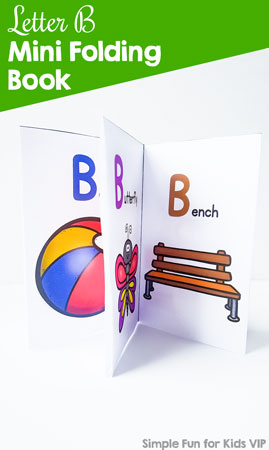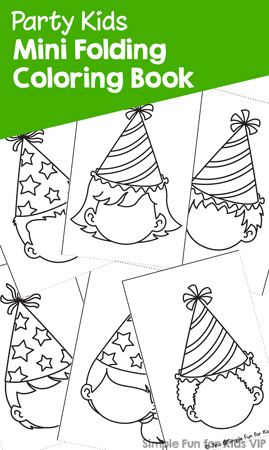
How to Make and Assemble a Mini Folding Book
Mini folding books are so awesome: Easy to make, eye-catching, fun, and beloved by kids who are so proud of their own tiny books.
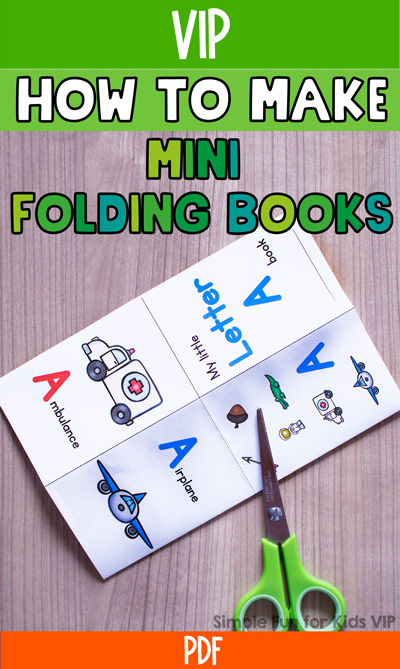
At first glance, it looks like they’re hard to put together but once you’ve seen the video, there will be no doubt about just how easy it is.
You don’t even need to print on both sides of the paper or anything fancy like that. Print one page, fold, cut, fold again, and you’re done!
If you prefer written instructions, I got you, too!
- Print out the page either on A4 or letter-size paper.
- Trim the edges of the paper along the outside dotted lines. (If your printer has that feature, you can try to print edge-to-edge, but I’ve never had luck with this with my printer.)
- Next, fold and unfold along all of the solid inside lines.
- Fold in half along the long side.
- Cut along the dotted line that runs perpendicular to the folded edge. Make sure to only cut up to the next perpendicular line, not all the way to the edge!
- Unfold, then fold in half along the short side.
- Grab the paper on both sides where the fold on top is still intact, then move your hands together until you’ve flattened the center section (the part with the cut edge) and the sheet of paper looks like a cross when looking at it from above.
- Redo the folds between the pages, making sure to end up with the title page at the front and the back cover at the back of the assembled book.